Novafy Billing Setup Guide
Step-by-step guide to configuring your ISP on Novafy Billing — from registration to live hotspot customers and PPPoE subscribers. Covers MikroTik RouterOS provisioning, RADIUS authentication, and mobile money payments.
1. Creating an account
Registration flow — from the landing page to the dashboard.
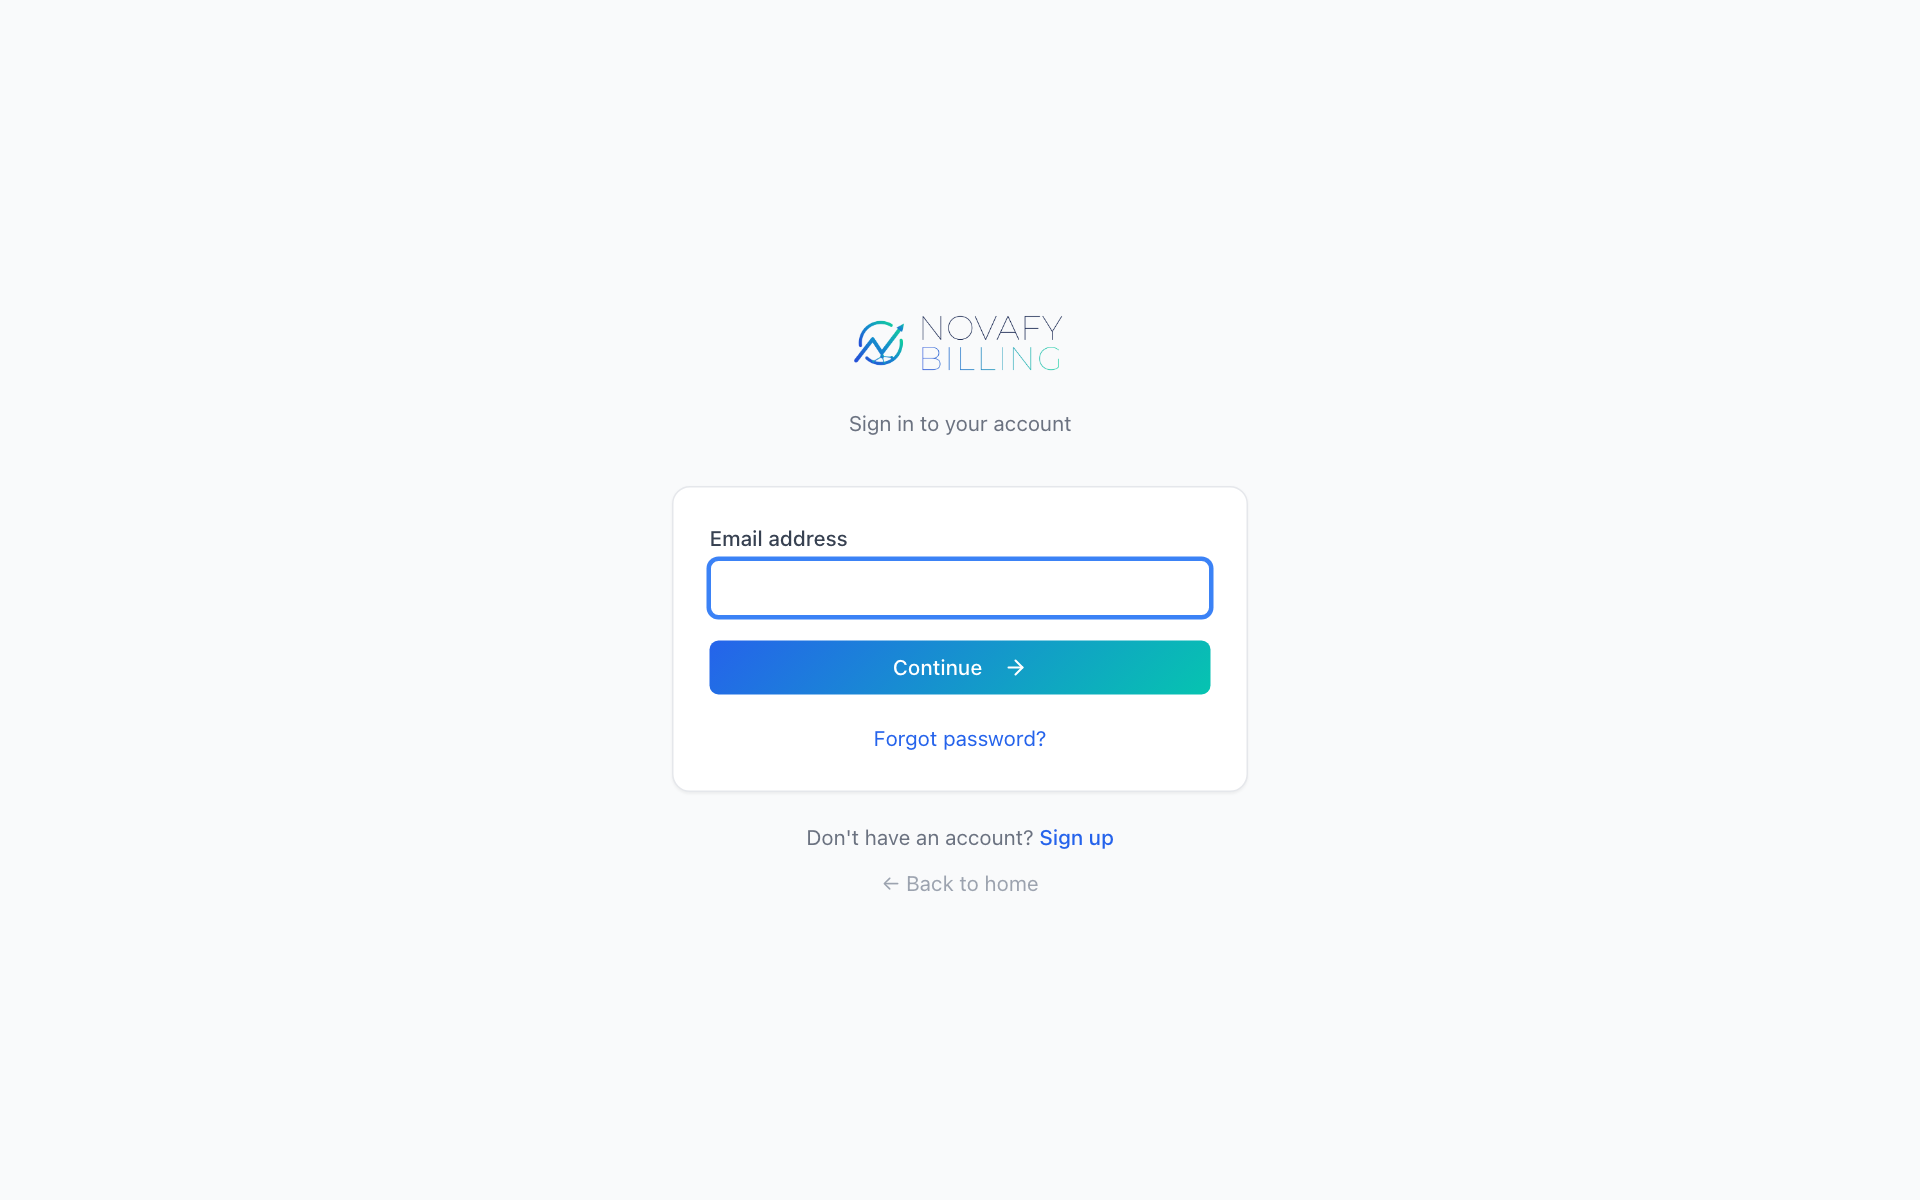
Open the registration page
Go to novafybilling.com and click Start free trial, or navigate directly to /register.
01-register-landing.png
Landing page with Start free trial CTA highlighted
1200 × 700 px
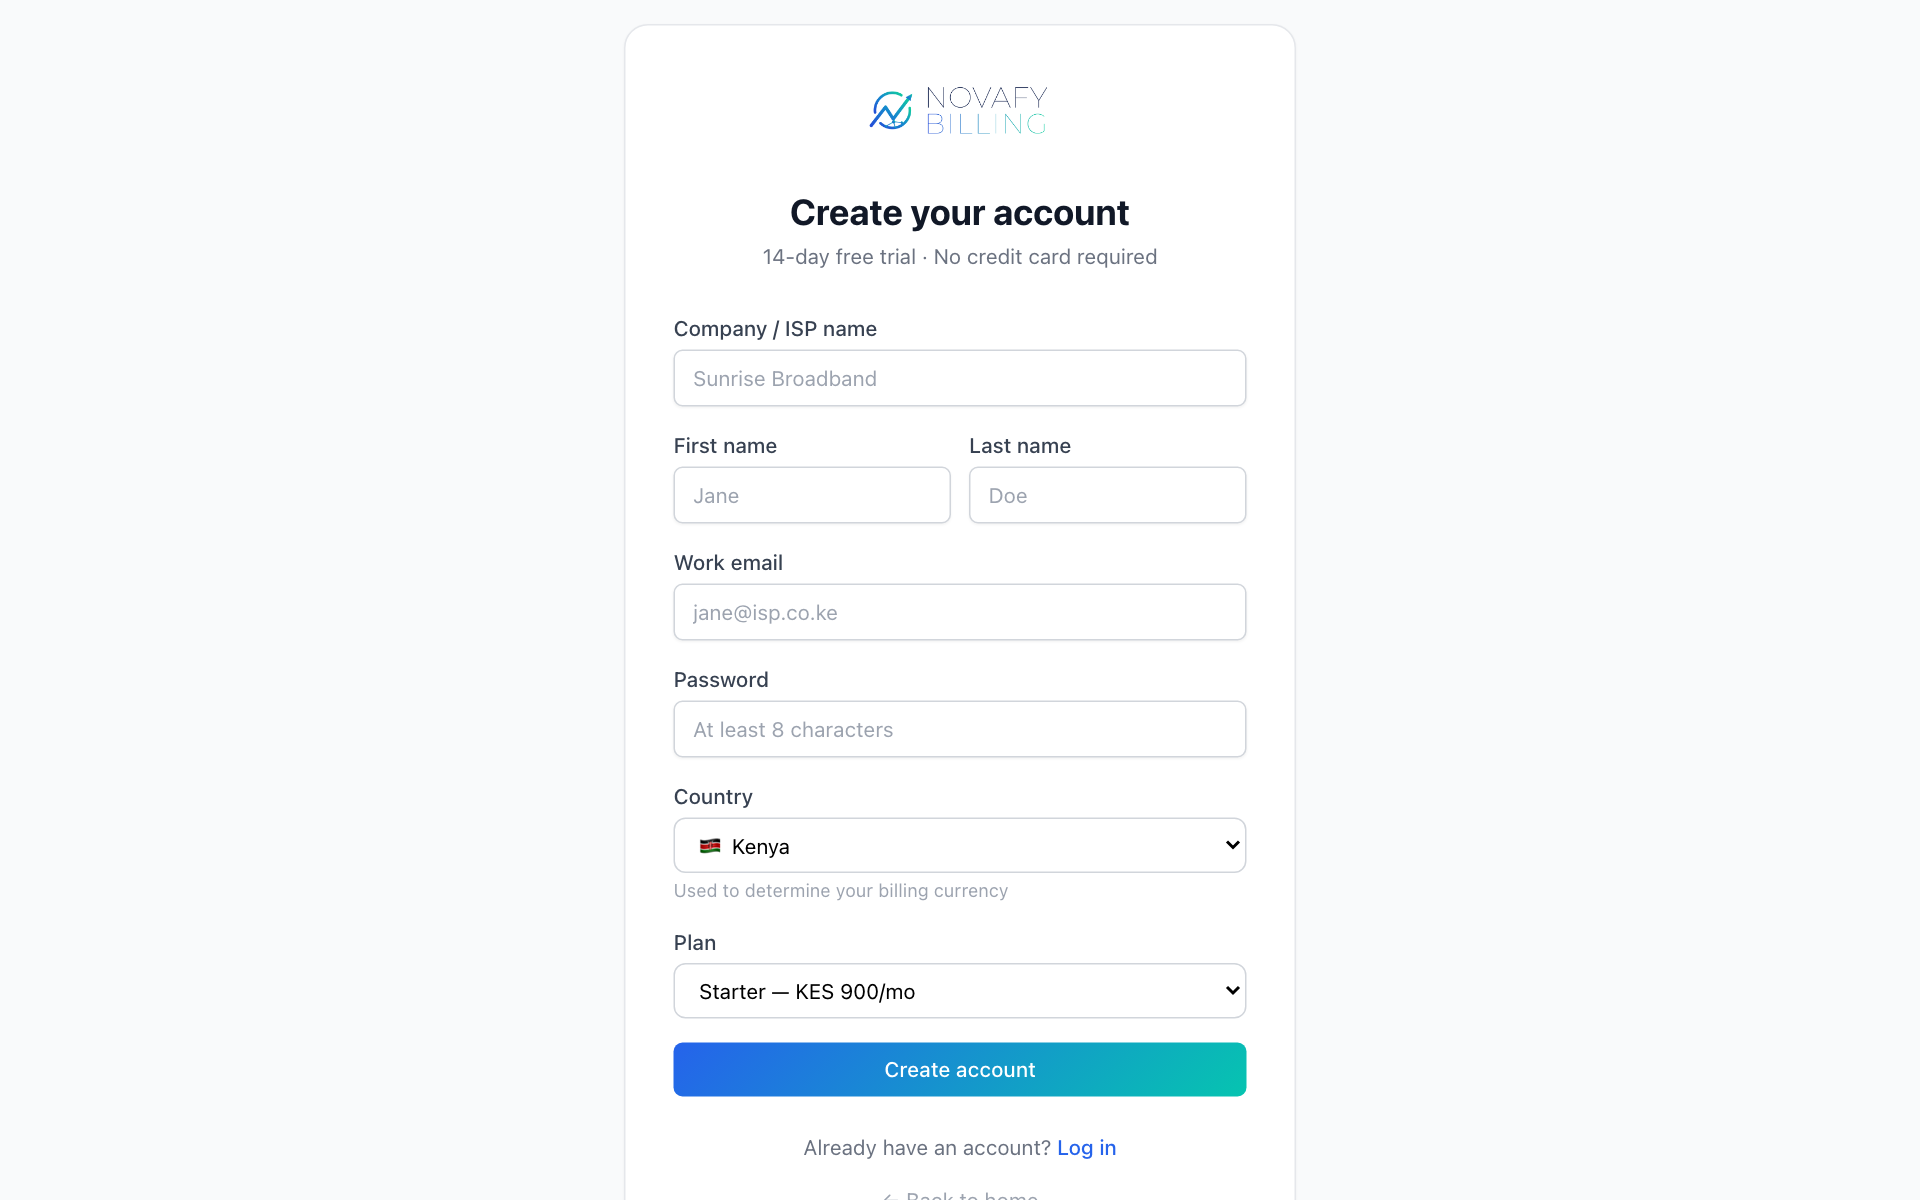
Fill in company details
Enter your Company name (this becomes your subdomain), country, email, and password. Your subdomain will be yourname.novafybilling.com.
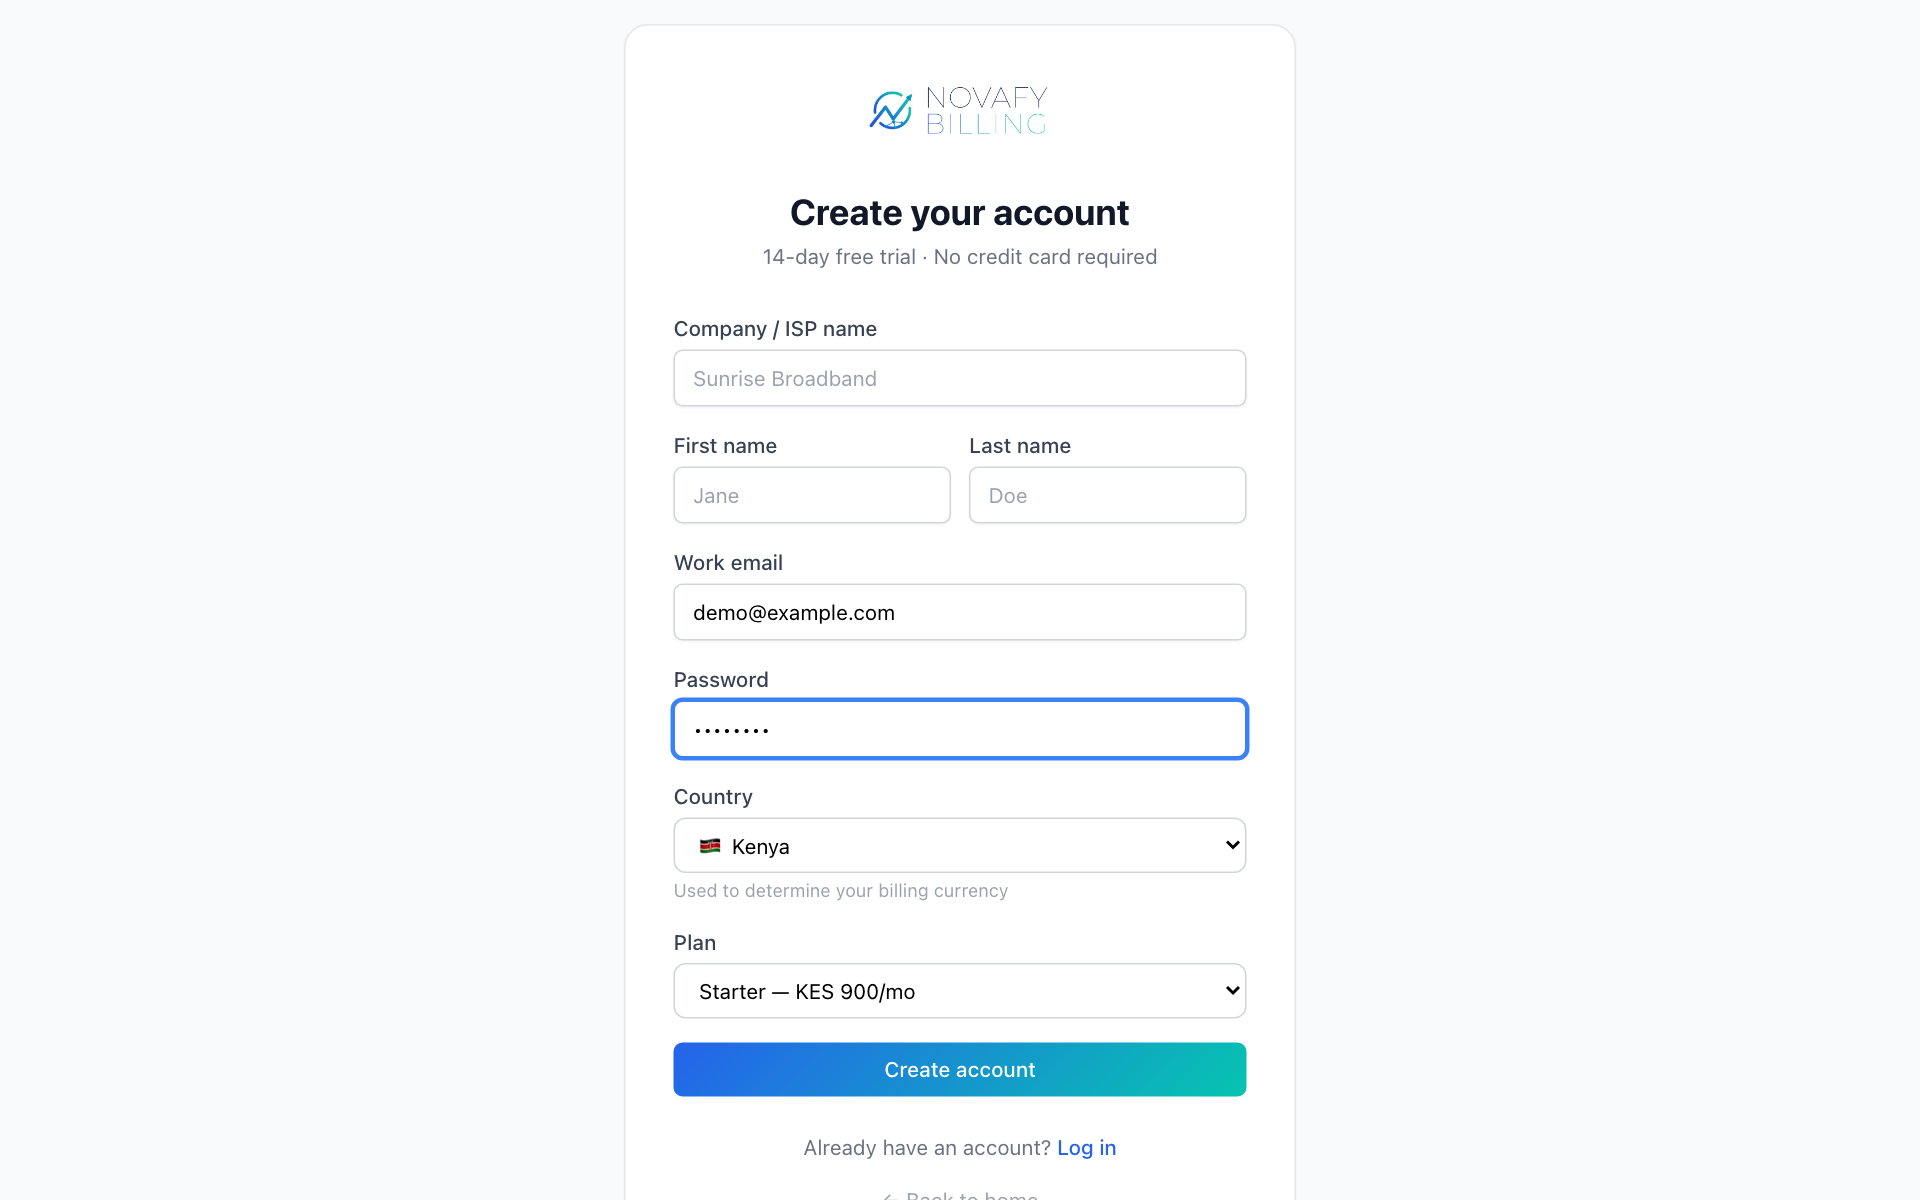
01-register-form.png
Registration form with example data
800 × 680 px
Verify your email
Check your inbox for a 6-digit OTP and enter it on the verification screen.
01-otp-screen.png
OTP verification — 6 digit boxes
600 × 400 px
Arrive at your dashboard
You are redirected to yourname.novafybilling.com/dashboard. The account is active with a Trial subscription.
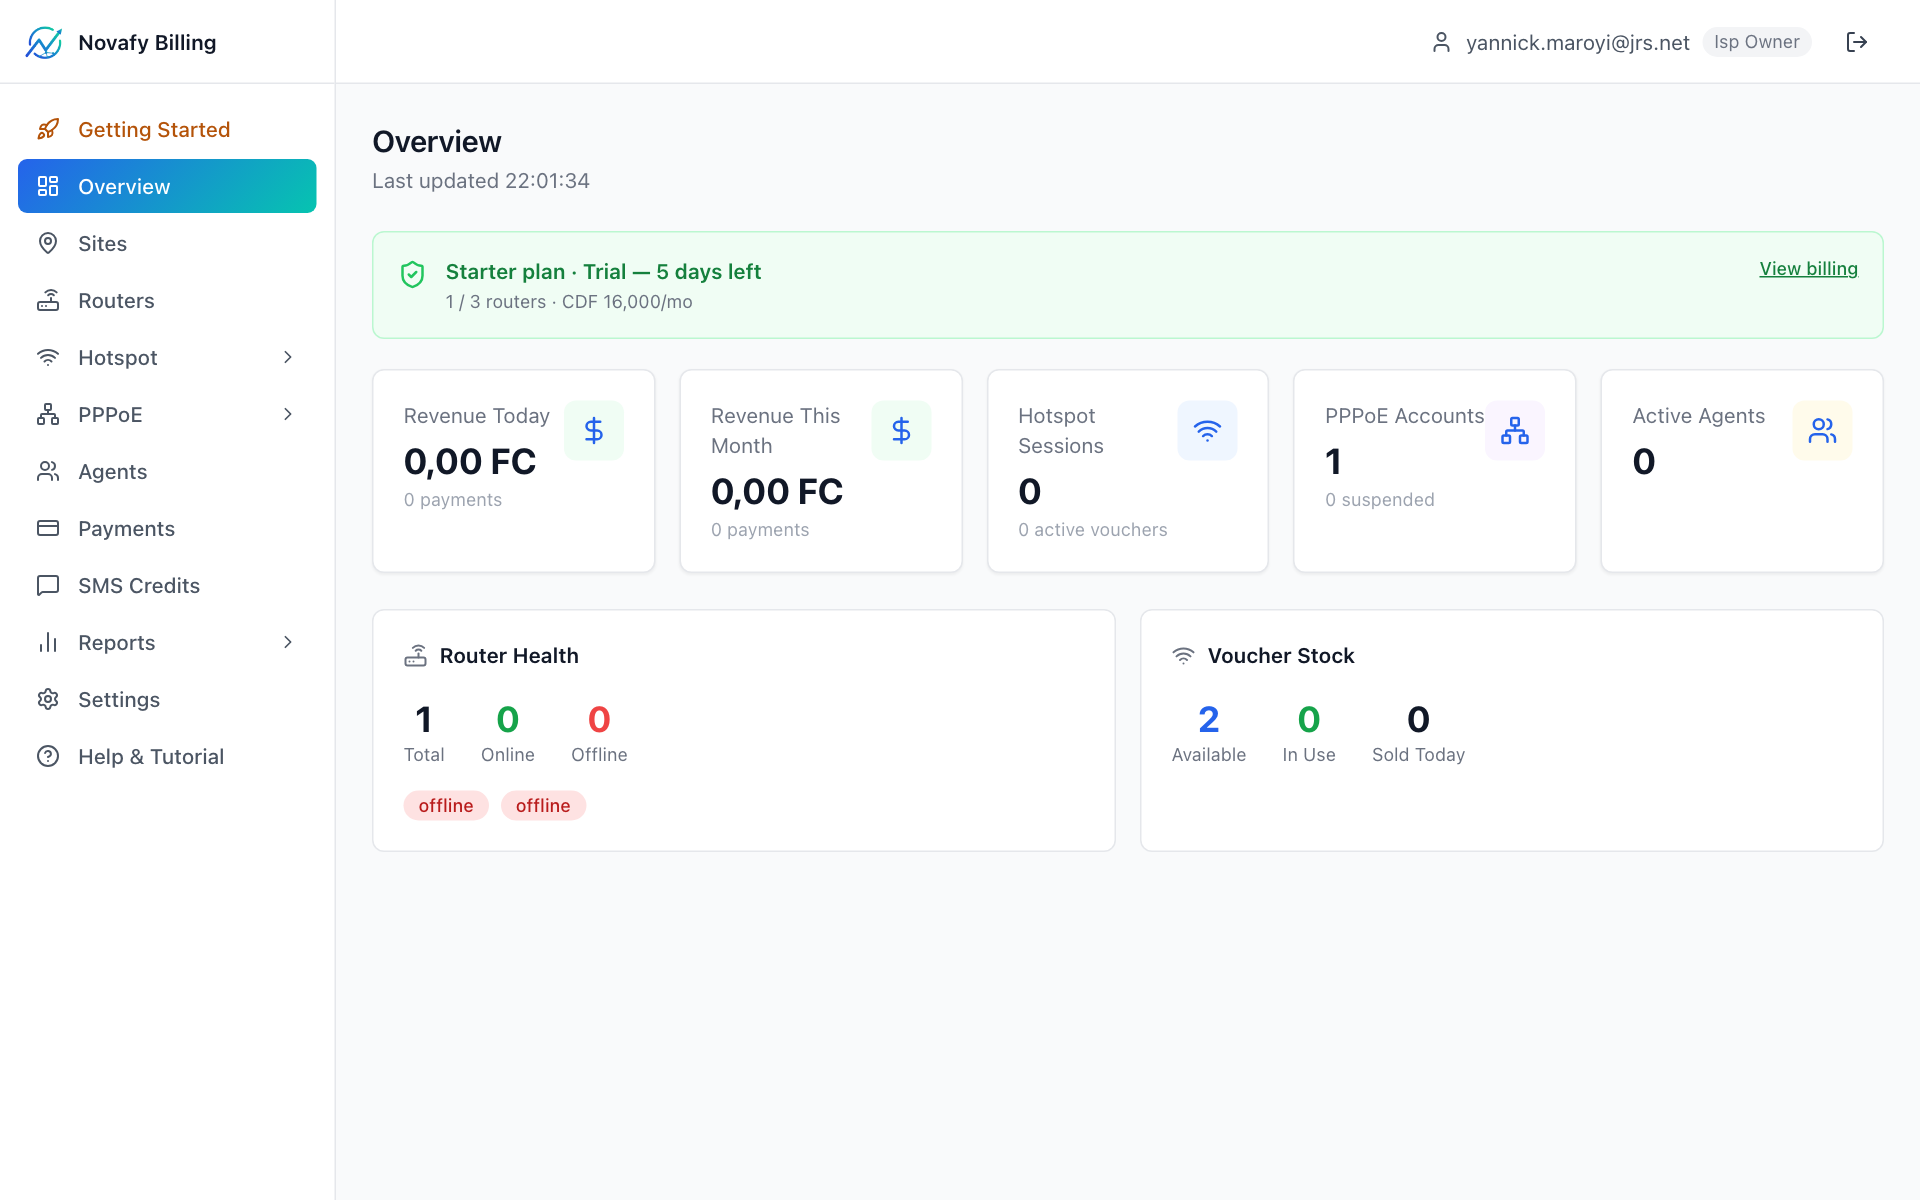
01-dashboard-fresh.png
Fresh dashboard — empty state with trial badge
1200 × 700 px
Ready to set up your ISP?
Free 14-day trial — no credit card required. Cancel anytime.
2. Account settings
Add your logo, support number, portal language, and billing info.
Open Settings
Click your account name in the top-right → Settings, or go to /settings.
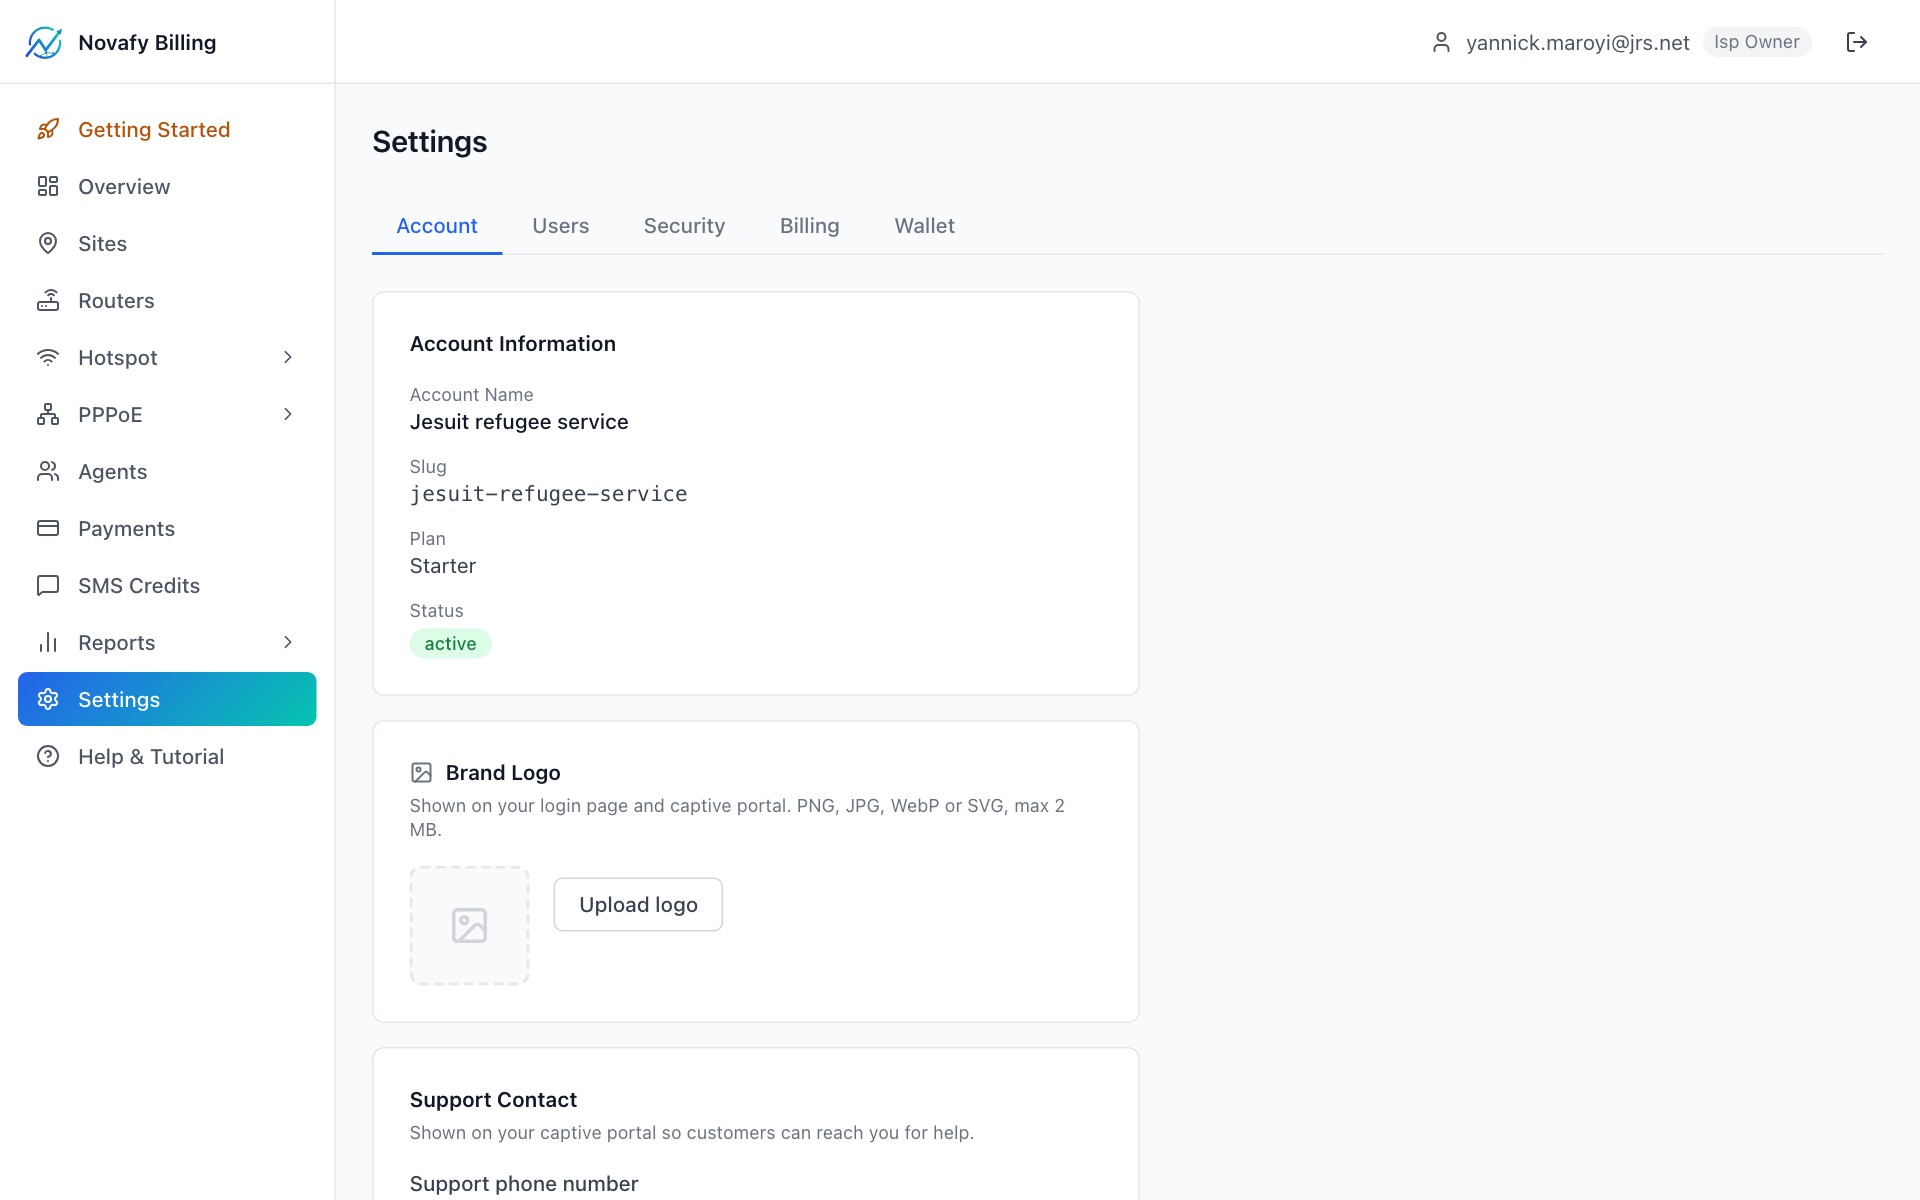
Upload your company logo
In the Branding card, click Upload Logo. Formats: PNG, JPG, WebP, SVG. Max 2 MB. Your logo appears on the captive portal and login page that customers see.
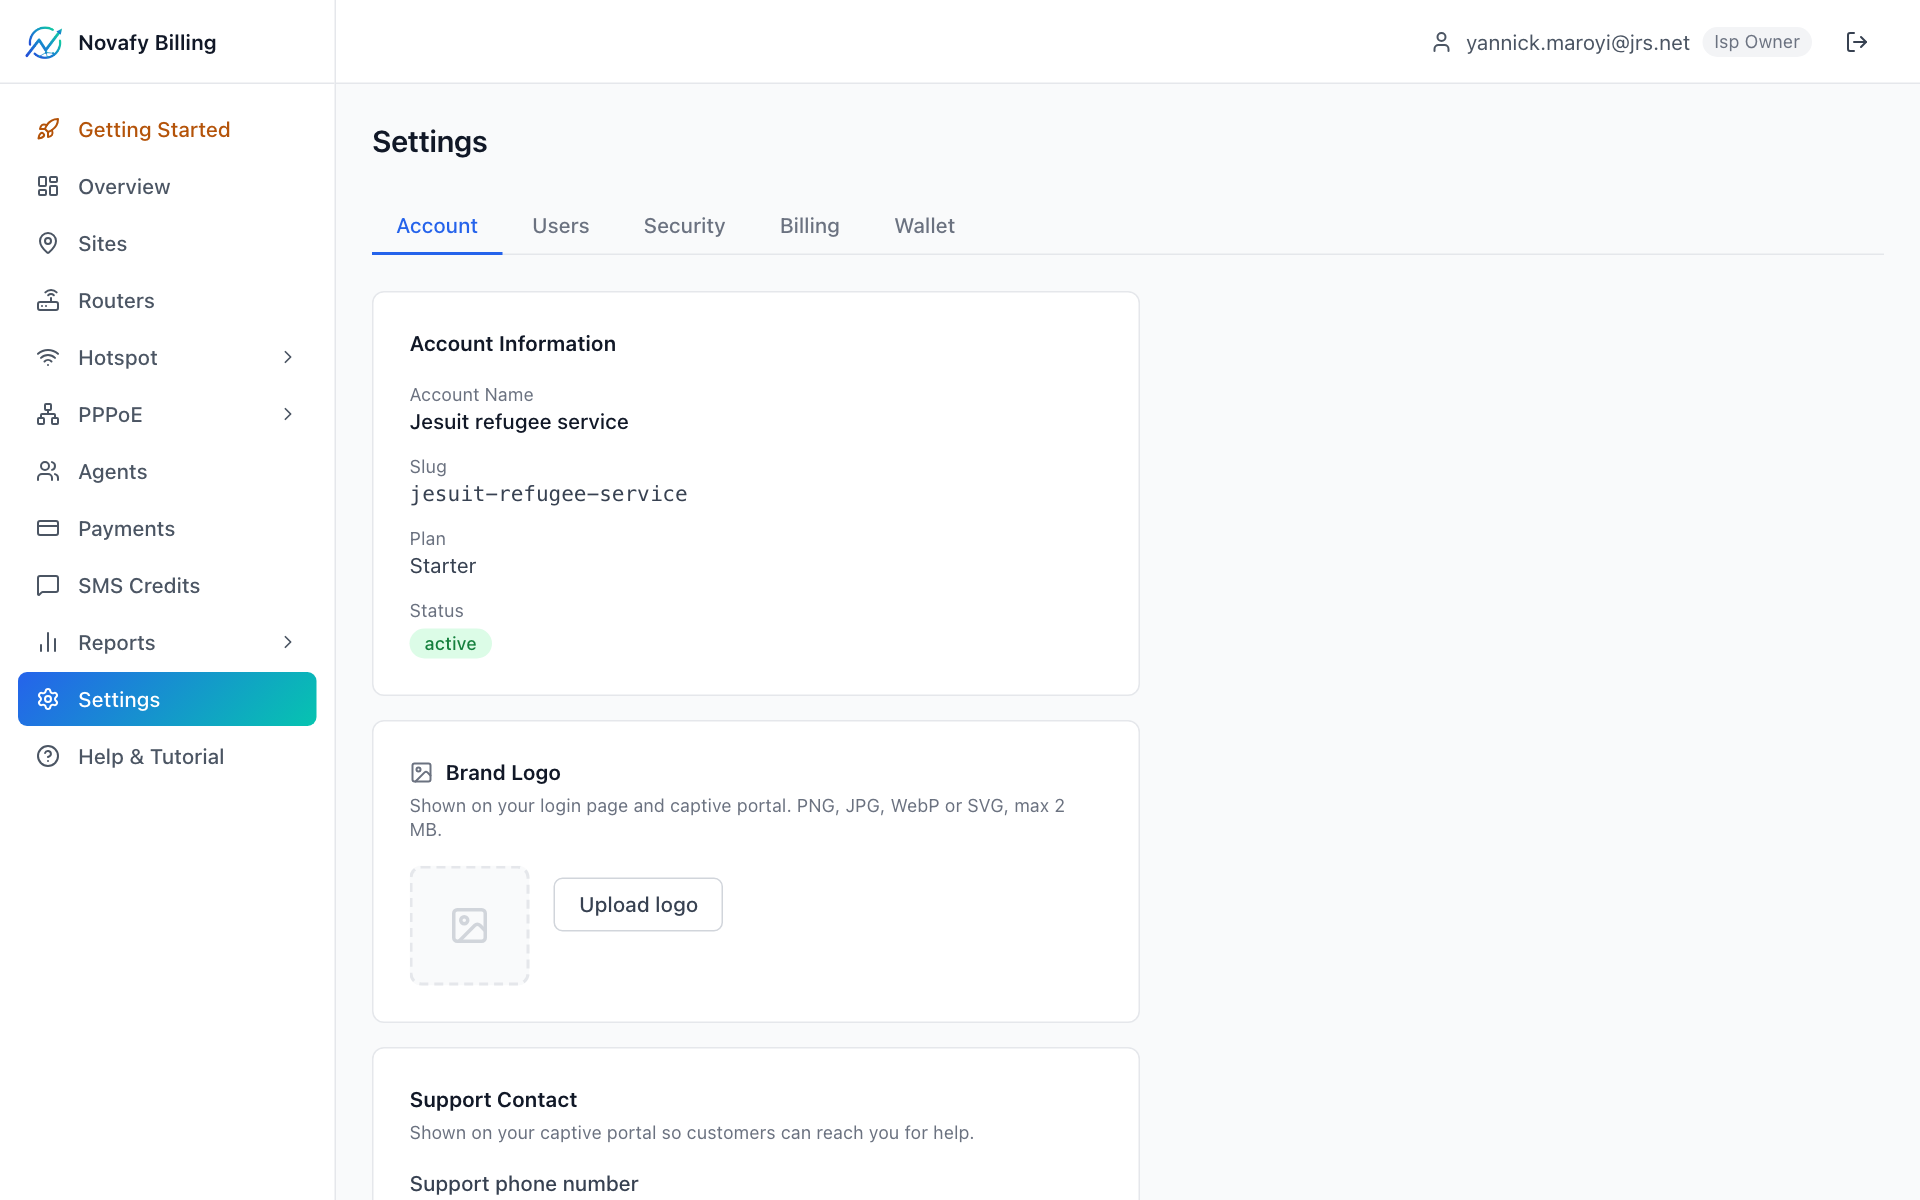
02-logo-upload.png
Settings → Branding with logo preview after upload
900 × 450 px
Set support phone number
In the Contact card, enter your support number (e.g. +243812345678). Customers see this on the portal when they need help connecting.
Set portal language (fallback)
In the Portal Language card, choose English or Français. This is the fallback language for the captive portal when a customer's browser language has no translation.
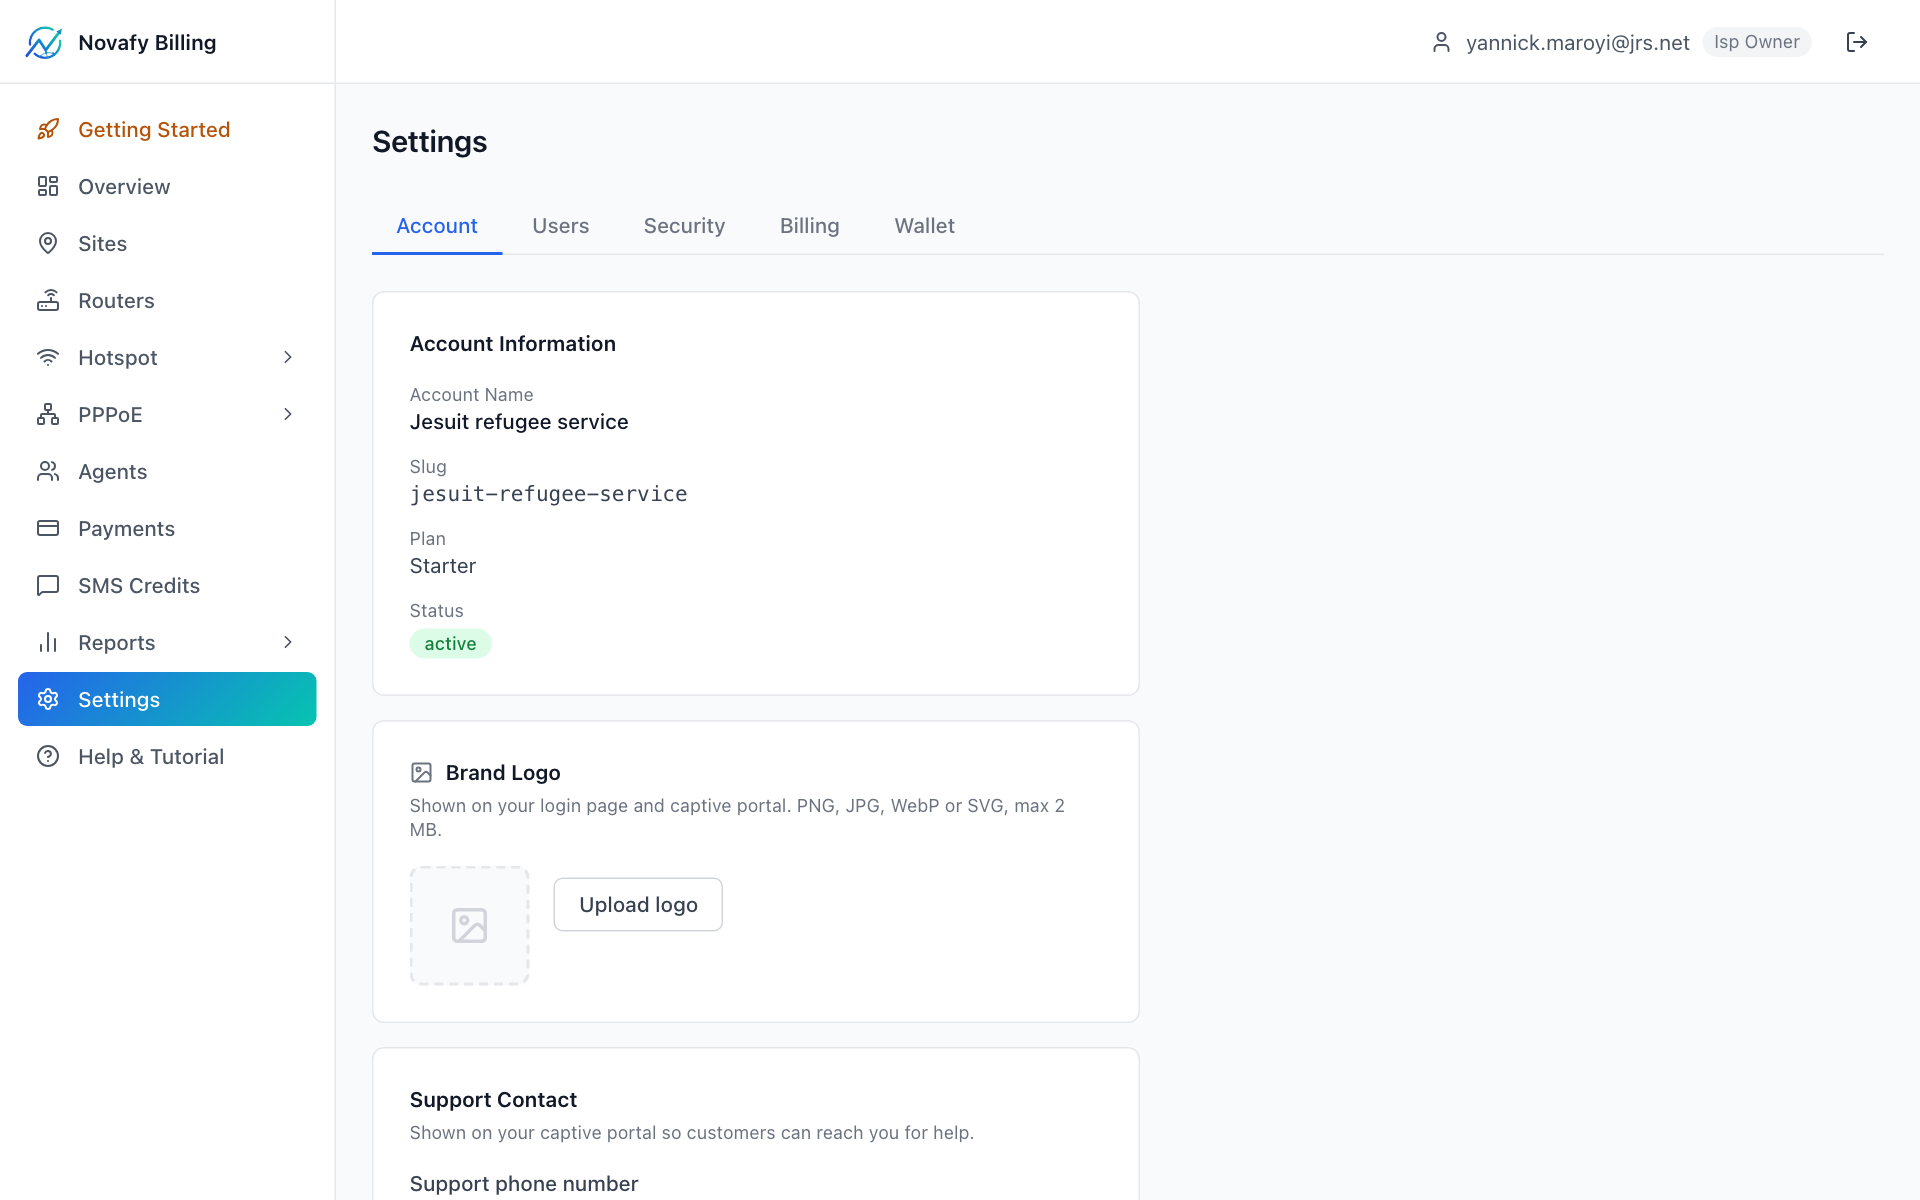
02-settings-overview.png
Full settings page — Branding, Contact, and Portal Language cards visible
1200 × 800 px
Configure notification channel
Choose SMS or Email for customer notifications (voucher codes, alerts). SMS uses your credit balance; email uses your plan's included quota.
3. Purchasing SMS credits
Top up your SMS balance so voucher codes and alerts can be delivered.
Go to SMS Credits
From the sidebar, click SMS Credits. Your current balance is shown at the top.
Choose a package
Packages are priced in your local currency. Larger bundles have a lower per-SMS cost. Click Buy on the package you want.
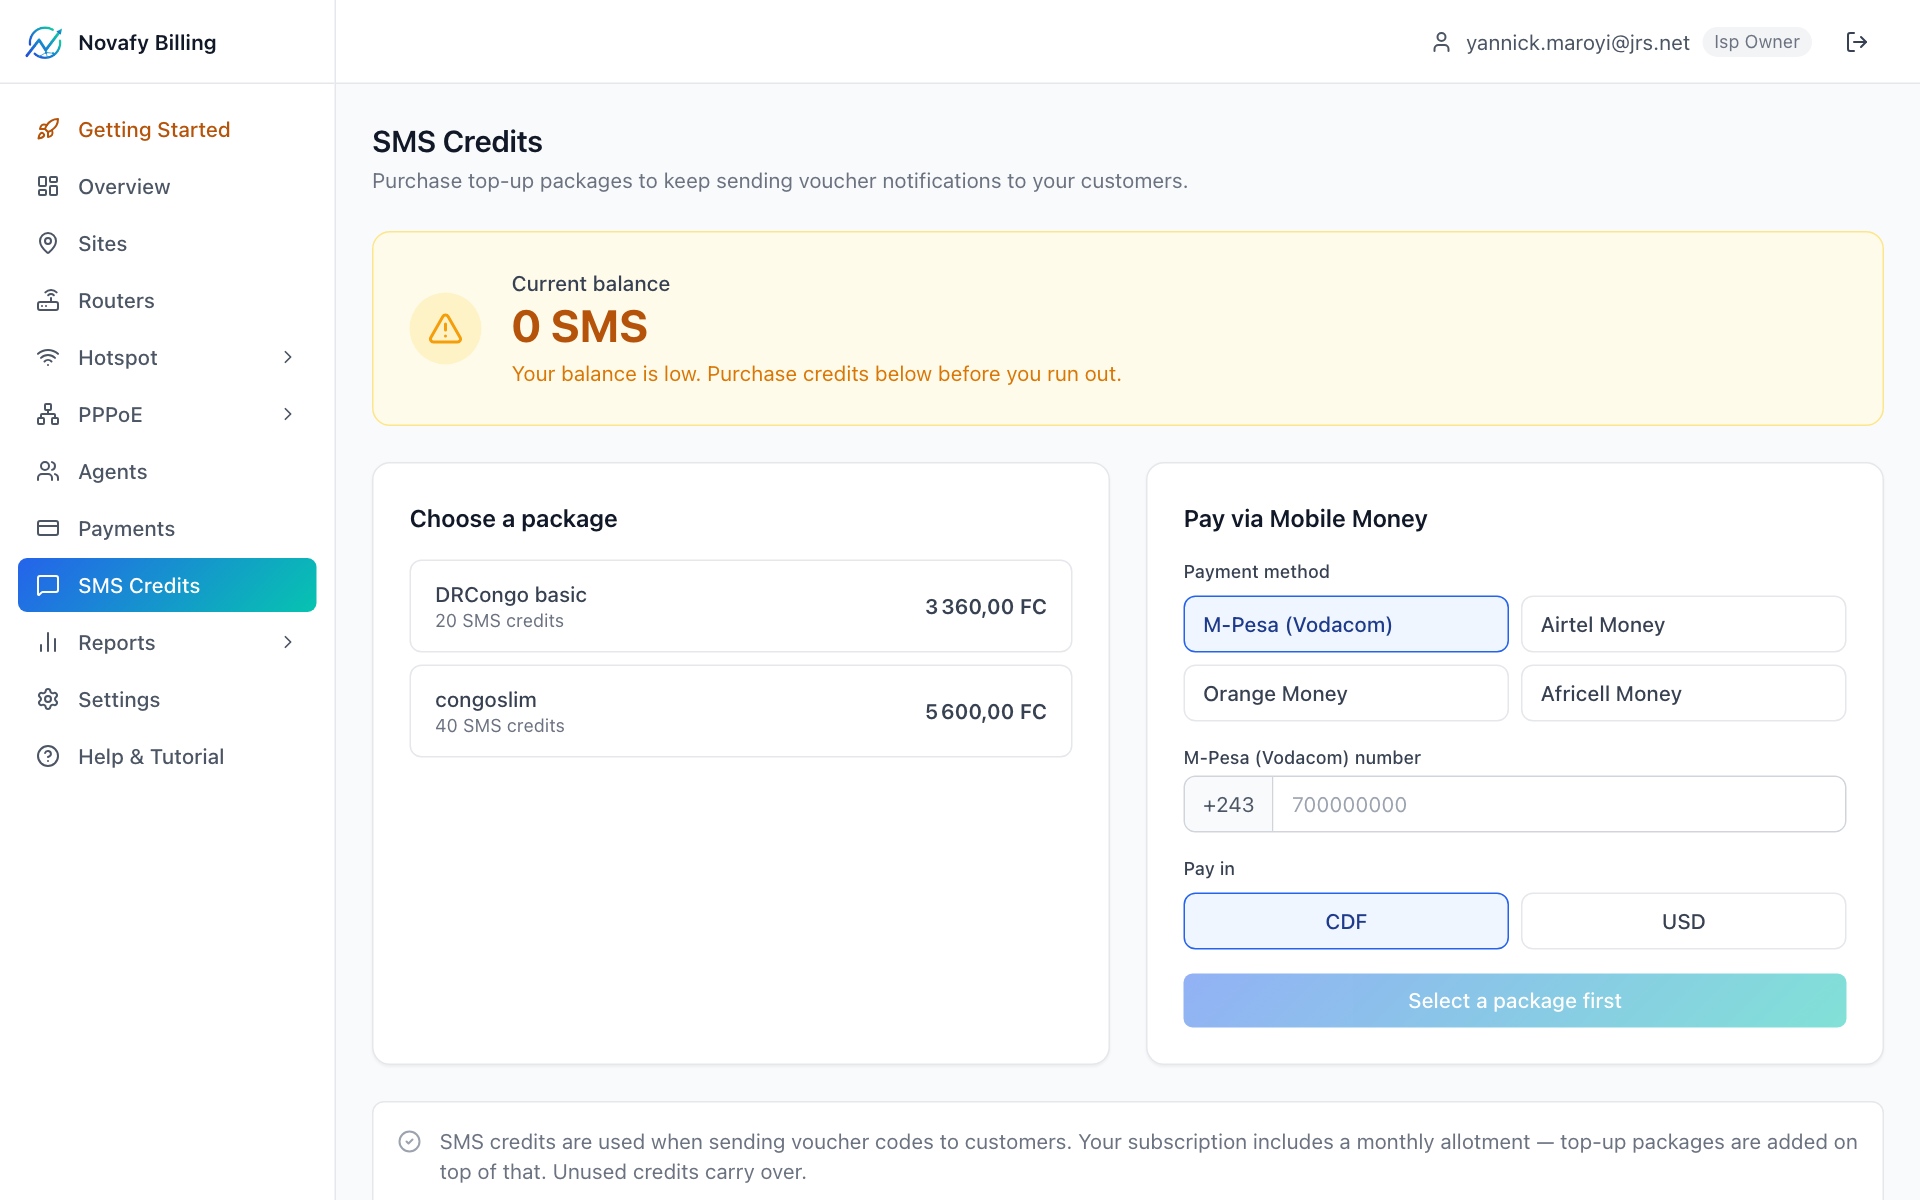
03-sms-packages.png
SMS packages page with package tiers and Buy buttons
900 × 500 px
Complete mobile money payment
Enter your mobile money number and approve the prompt on your phone. Credits are added instantly after confirmation.
4. Subscribing to a plan
Activate or upgrade your subscription to unlock more routers and subscribers.
Open the Billing tab in Settings
Go to Settings → Billing. Your current plan and renewal date are shown.
04-billing-tab.png
Settings Billing tab — current plan with Renew / Upgrade buttons
1000 × 600 px
Click Pay Now or Upgrade
Pay Now renews the same plan. Upgrade is available when more than 7 days remain — it switches you to a higher plan immediately.
Enter your mobile money number and confirm
A push prompt is sent to your phone. Approve it. Your subscription renews and the dashboard shows the new expiry date.
5. Router provisioning
Connecting your MikroTik router — hybrid mode (Hotspot + PPPoE simultaneously).
RB951Ui-2HnD — Hybrid Mode Port Layout
ether1
WAN
ether2
Hotspot
ether3
Hotspot
ether4
PPPoE
ether5
PPPoE
WiFi radio joins the Hotspot bridge automatically after provisioning.
Hybrid mode lets the router serve two customer types simultaneously: Hotspot clients (voucher-based web login) on ether2/ether3/WiFi, and PPPoE clients (username/password, always-on) on ether4/ether5. Both are authenticated by RADIUS through the same platform.
Step 1 of 3 — Add router & enter details
Go to Routers → Add Router. Enter:
- Brand: MikroTik
- Model: RB951Ui-2HnD
- RouterOS API port: 8728 (default)
- Site / location name (optional)
- Mode: Hybrid (Hotspot + PPPoE)
Click Next.
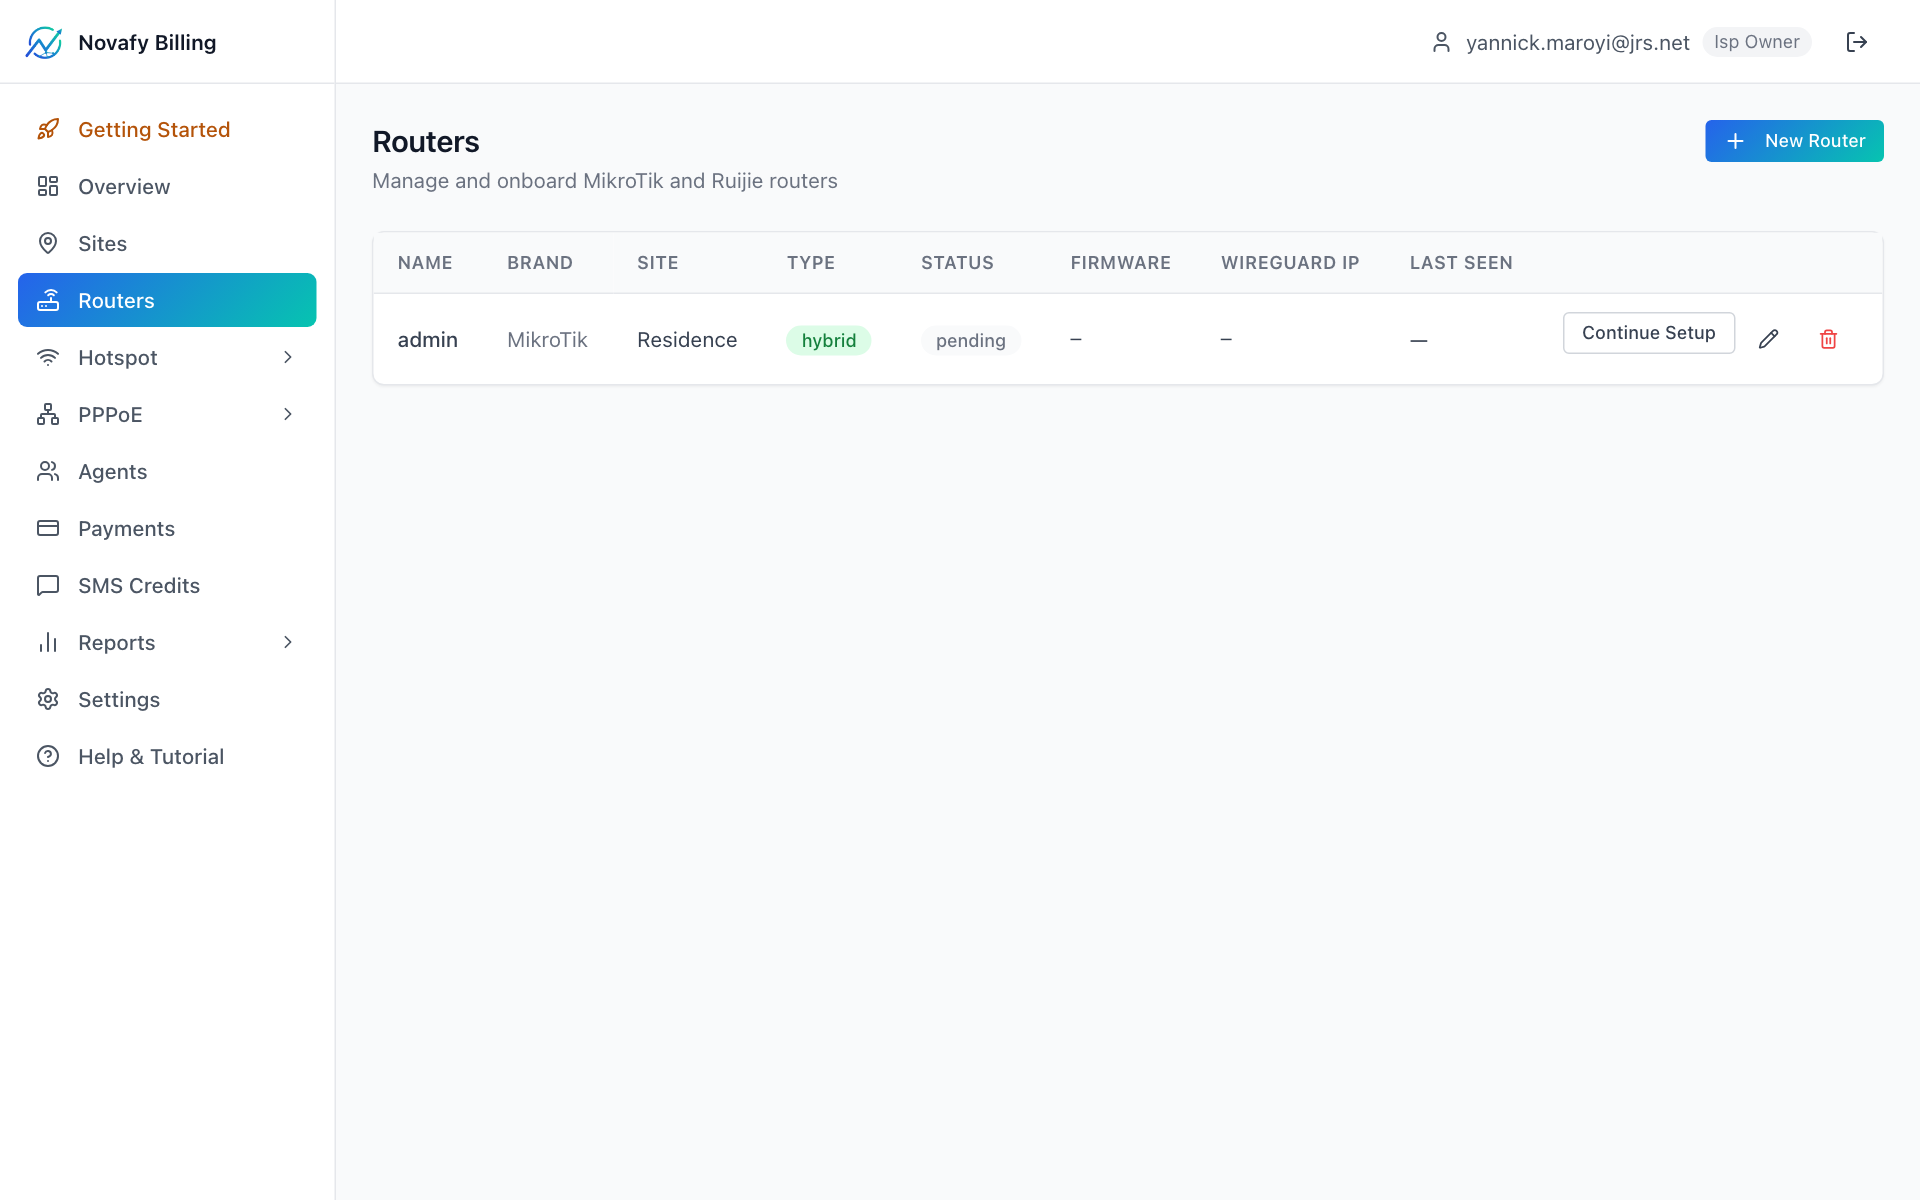
05-wizard-step1.png
Add Router wizard — Step 1: brand / model / mode selection
800 × 600 px
Step 2 of 3 — Firmware check
The wizard generates a short script. In RouterOS:
- Open Winbox → New Terminal
- Paste the script and press Enter
- The router calls back — the wizard confirms it is reachable and shows the RouterOS version
System → Packages first.
05-wizard-step2-script.png
Wizard — copy-paste firmware-check script
900 × 500 px

05-winbox-terminal.png
Winbox terminal with the script pasted and run
900 × 600 px

05-wizard-step2-ok.png
Wizard — green ✓ after callback, RouterOS version shown
800 × 400 px
Step 3 of 3 — Provisioning
Click Provision Router. Paste the new script into Winbox exactly as before. The router will:
- Create the Hotspot and PPPoE bridges
- Configure RADIUS pointing to your platform
- Establish a WireGuard VPN tunnel for secure remote management
- Set up NAT masquerade rules for internet access
This takes about 30 seconds. The wizard shows a Provisioned badge when complete.

05-wizard-step3-provisioned.png
Wizard — Provisioned success screen with WireGuard IP
800 × 500 px
Upload the local captive portal
After provisioning, open the router detail page and click Upload Local Portal. This sends a self-contained HTML login page directly to the router's flash storage. Customers who connect to your WiFi see this page — it loads instantly even if internet connectivity is momentarily slow.

05-upload-portal-dialog.png
Upload Local Portal confirmation dialog (amber warning button)
700 × 450 px
Verify connectivity
Connect a phone to the router WiFi. You should see the branded captive portal. The router detail page also shows Online in the status panel.

05-router-detail-online.png
Router detail — Online badge, WireGuard tunnel active, system uptime
1200 × 700 px
Ready to connect your first router?
Provision your MikroTik in minutes — the wizard does the hard part.
6. Hotspot packages
Create time/data voucher packages that customers buy through the captive portal.
Go to Hotspot → Packages
From the sidebar, click Hotspot → Packages. This is the catalog customers see on the portal.
Add a package
Click + Add Package and fill in:
- Name: e.g. "1 Hour", "Daily", "Weekly"
- Price in your local currency
- Duration: hours or days
- Data limit (optional): e.g. 500 MB
- Speed limit (optional): e.g. 5 Mbps down / 2 Mbps up
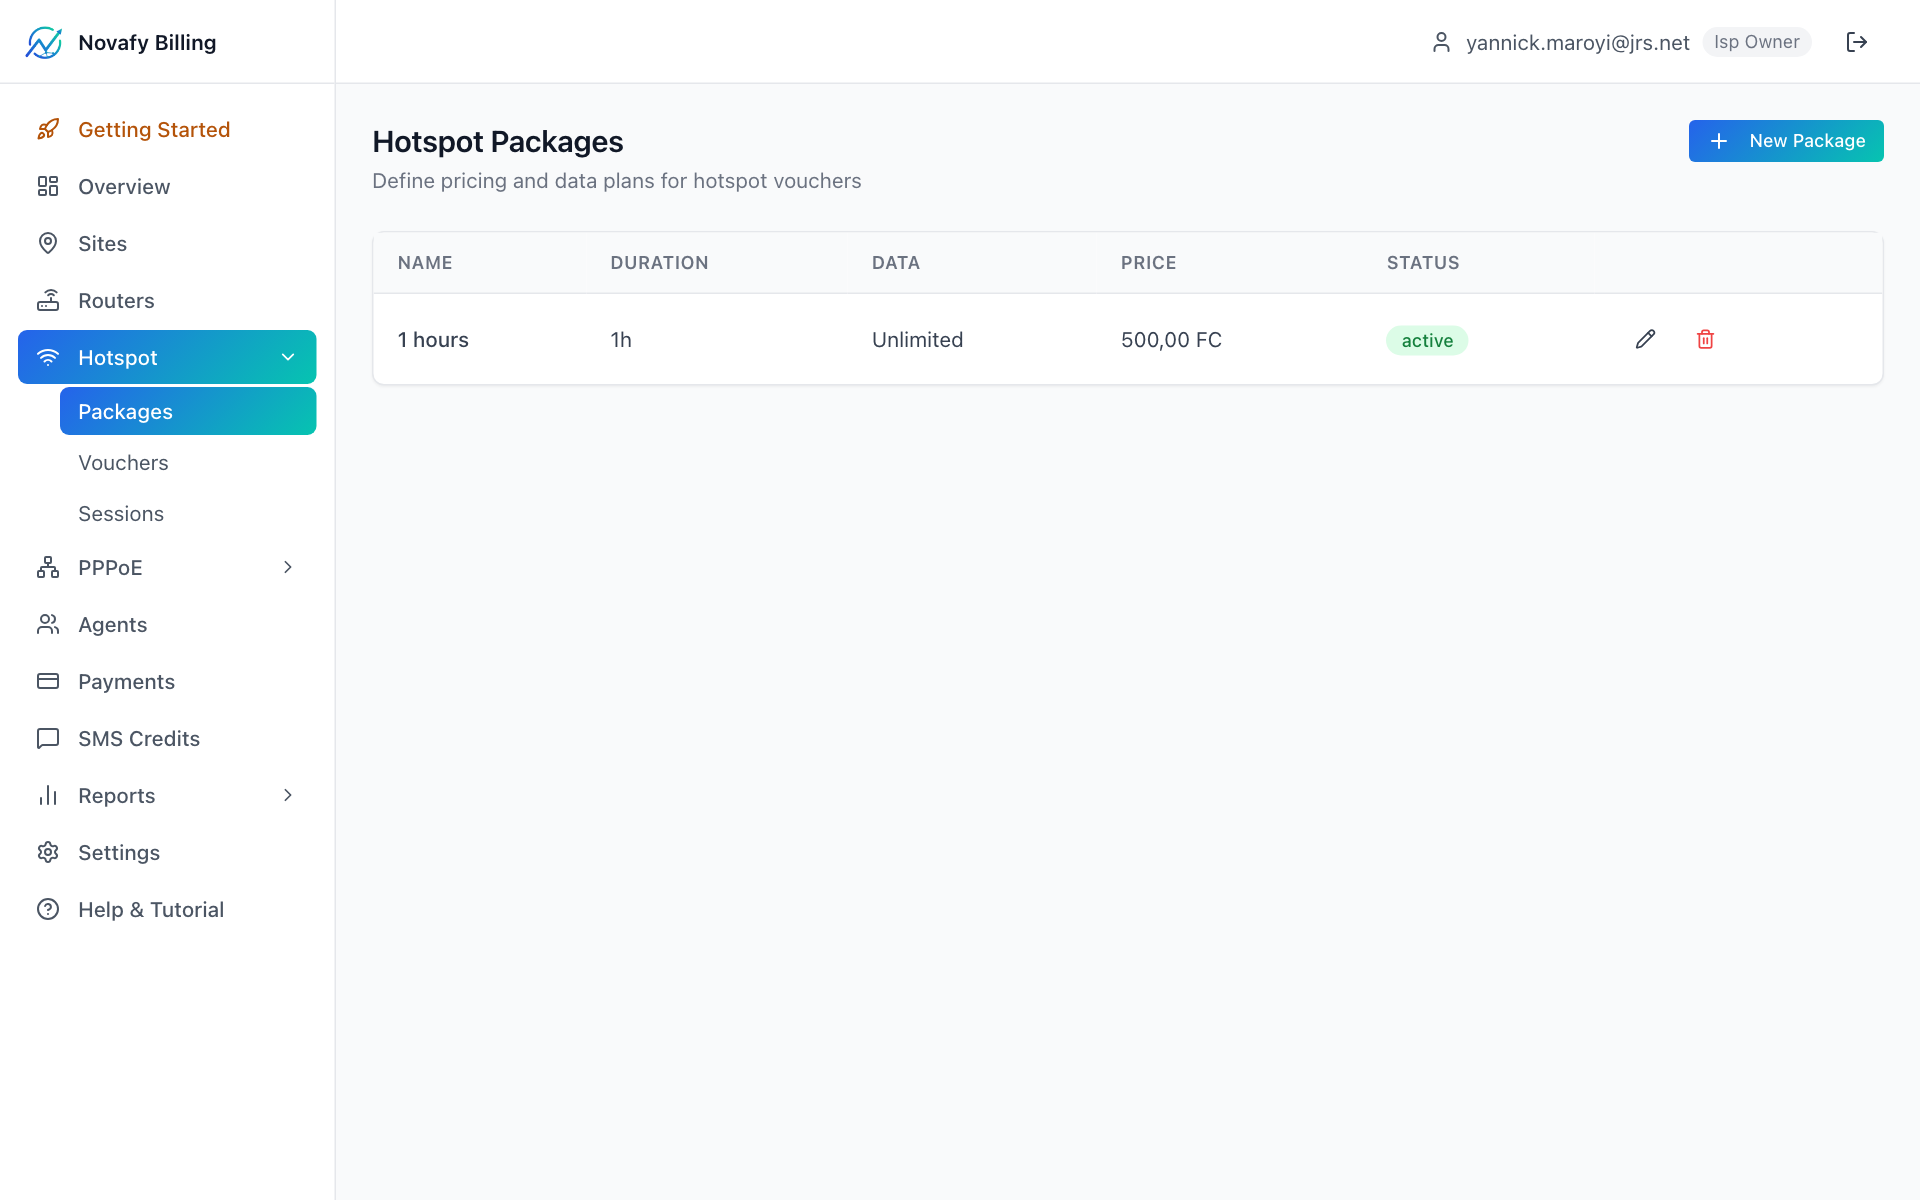
06-package-form.png
Add Package form with example values
700 × 600 px
Packages appear on the portal instantly
No router restart needed. The next customer who opens the portal sees the new package. Customers pay via mobile money and receive a voucher code automatically by SMS.
06-portal-packages.png
Captive portal showing package cards as customers see them
390 × 700 px
7. PPPoE setup
Create monthly home/business broadband subscribers with dedicated plans.
Create PPPoE plans
Go to PPPoE → Plans. Each plan defines speed and price. Example tiers:
- Basic — 5 Mbps / 2 Mbps
- Home — 10 Mbps / 5 Mbps
- Business — 20 Mbps / 10 Mbps
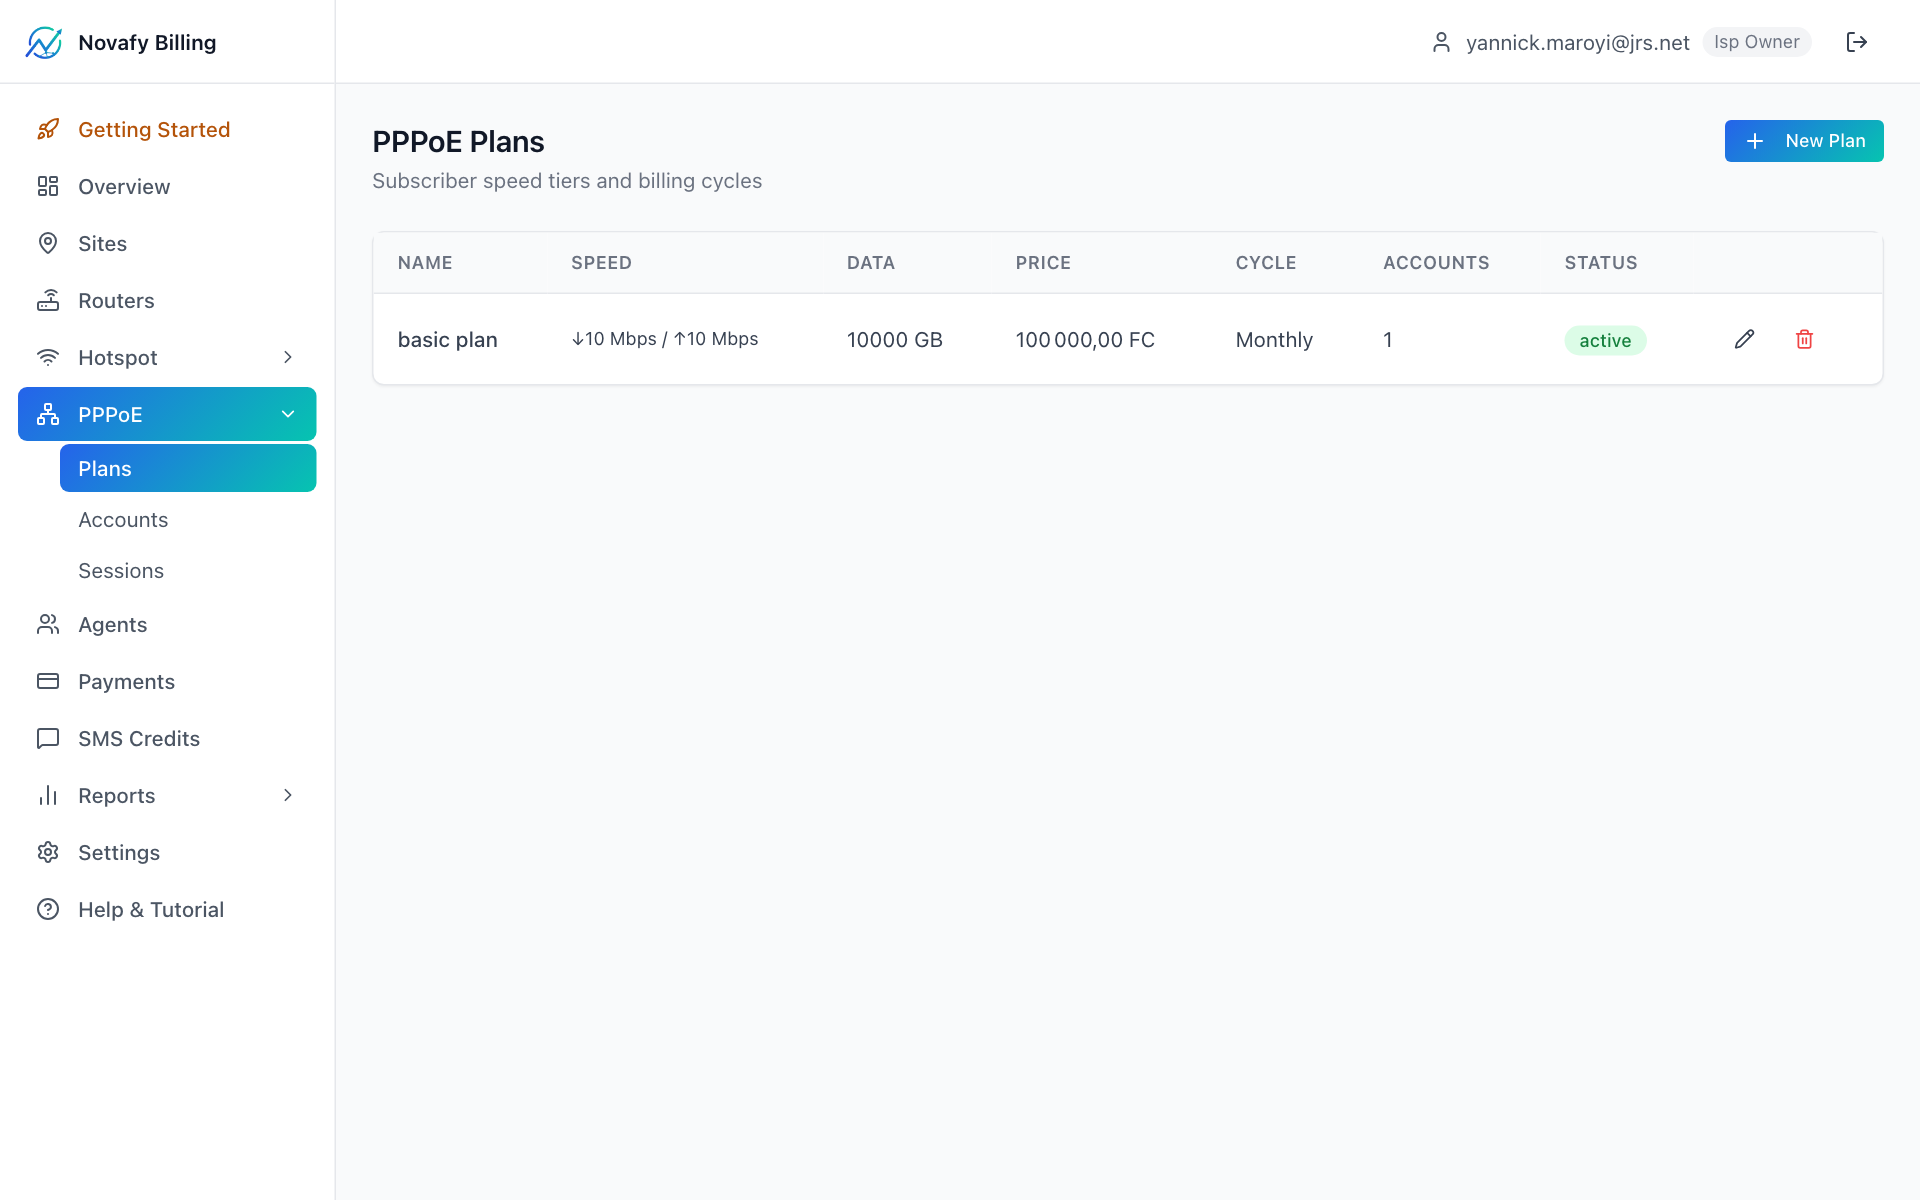
07-pppoe-plans.png
PPPoE Plans list with plan cards
1000 × 550 px
Add a PPPoE account (subscriber)
Go to PPPoE → Accounts → + Add and enter:
- Username and Password — the subscriber uses these in their CPE router
- Plan
- Phone number for payment notifications
The subscriber's router dials in with these credentials and is authenticated via RADIUS.
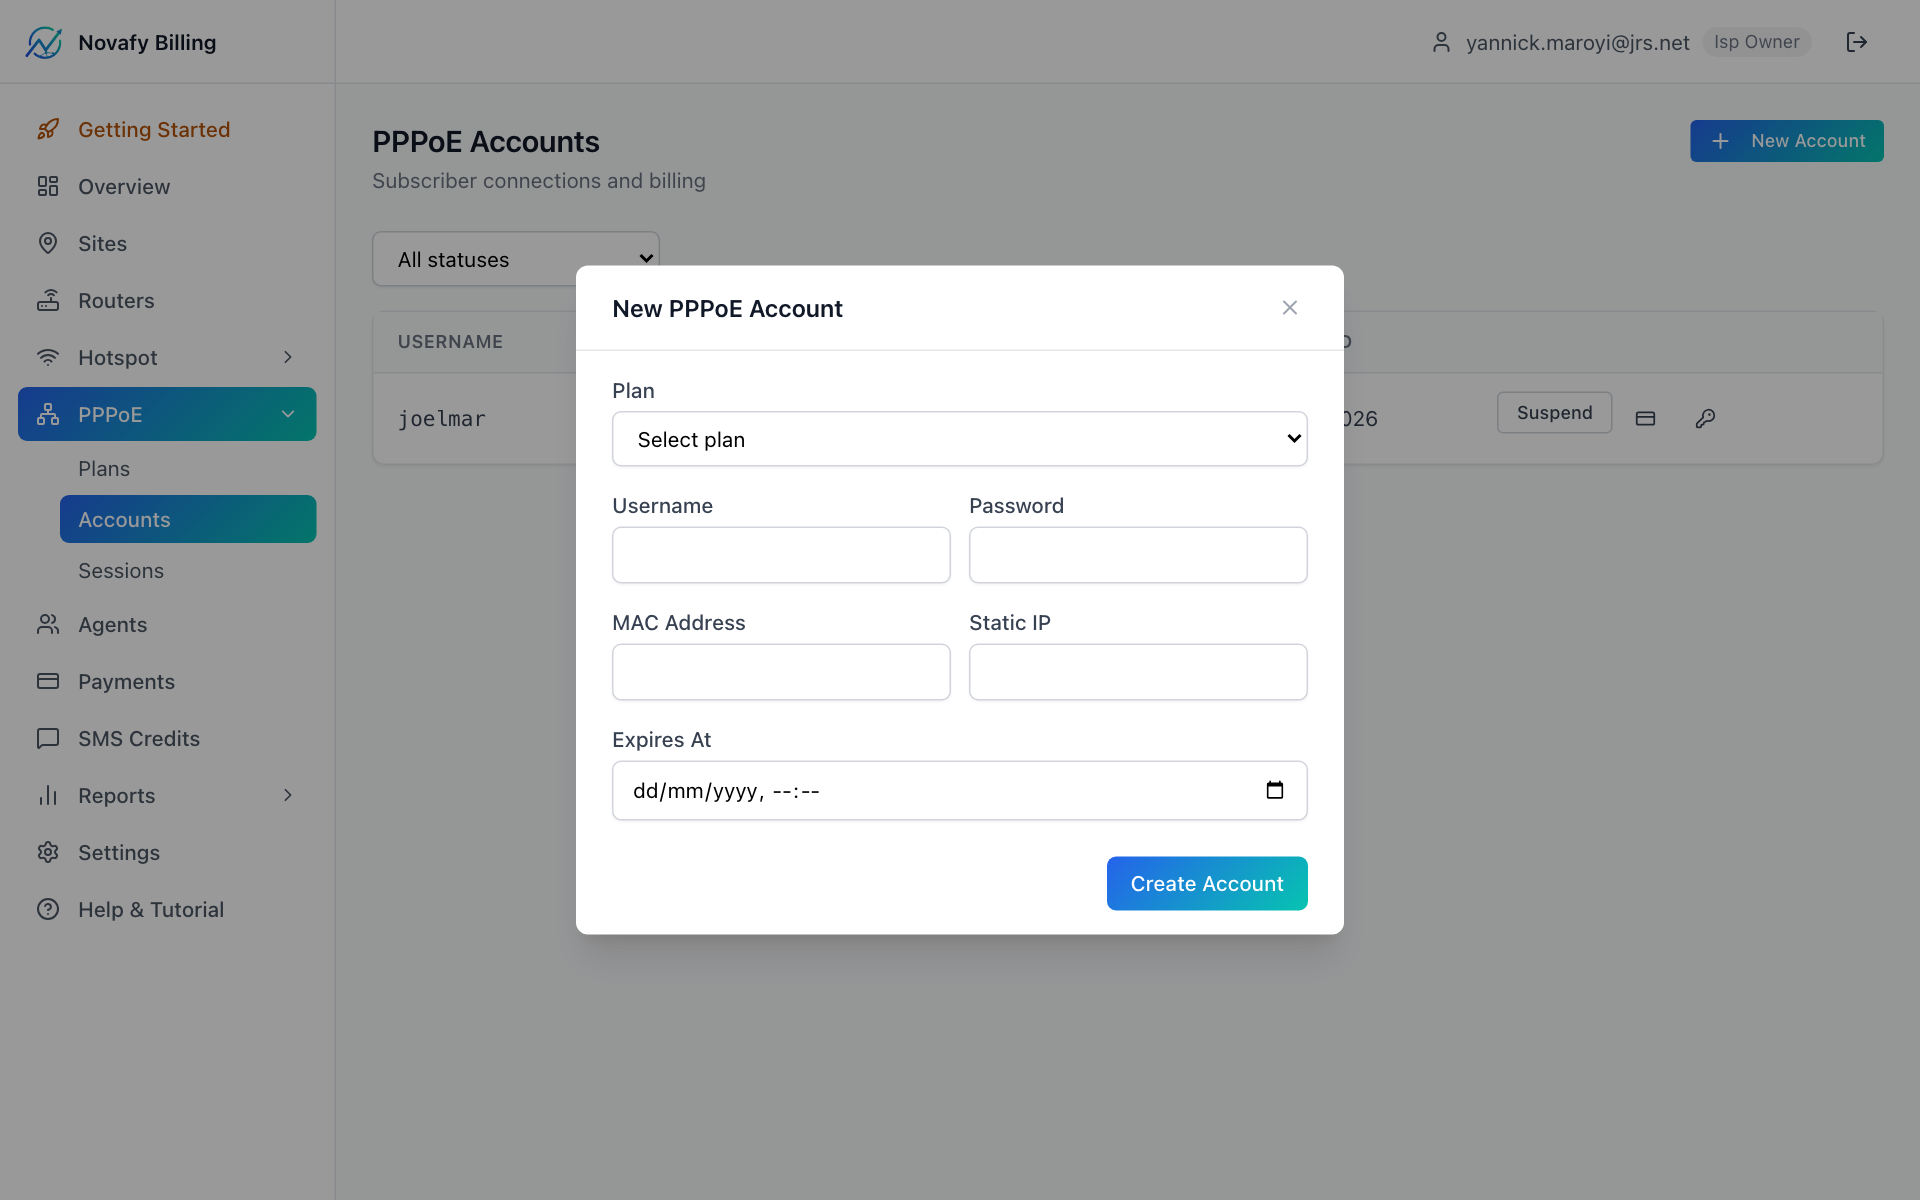
07-pppoe-add-account.png
Add PPPoE Account form with example subscriber data
700 × 580 px
Subscriber pays or ISP records payment
The subscriber can renew online at the PPPoE portal using their phone number, or you can record a cash/bank payment manually from the account detail page.
8. Requesting a payout
Withdraw your earnings from voucher sales and agent commissions to mobile money.
Check your balance
The dashboard shows your current Account Balance in your local currency.
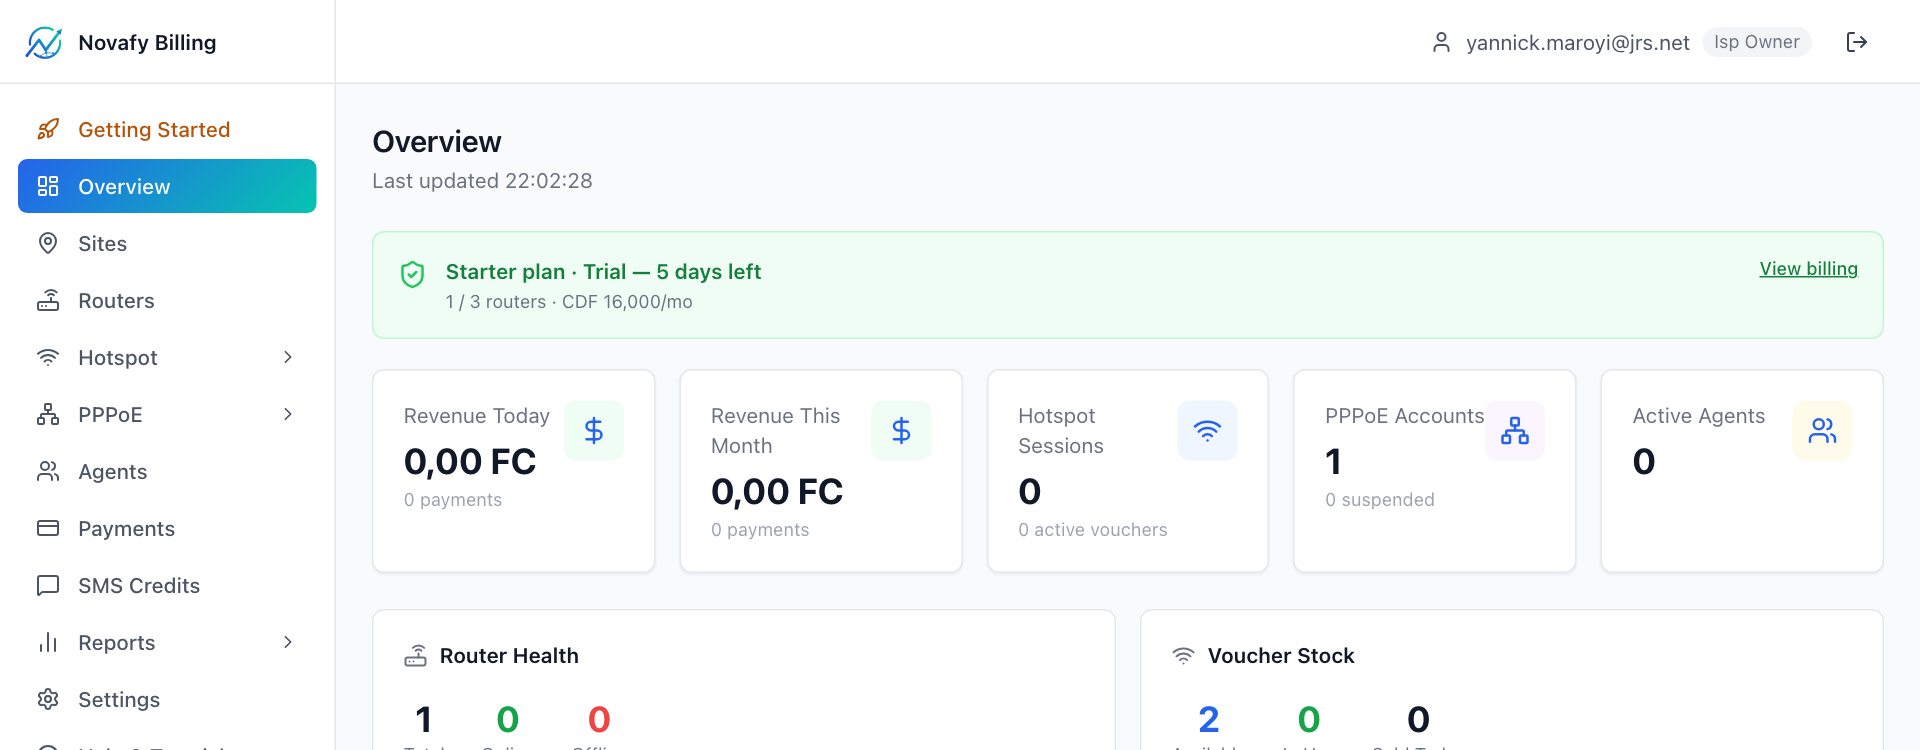
08-balance-card.png
Dashboard balance card with Request Payout button
500 × 300 px
Click Request Payout
Fill in the payout form:
- Amount: how much to withdraw
- Mobile money number: where to send it
- Provider: e.g. Airtel, M-Pesa, Vodacom
- Note (optional): reference for your records
Submit the request. The platform admin reviews and processes payouts manually (usually within 24 hours).
08-payout-form.png
Payout request form with amount, phone, and provider fields
700 × 520 px
Track payout history
Past payouts are listed below the form with date, amount, and status. You receive an SMS notification when the payout is processed.
Start managing your ISP today
14-day free trial. No credit card required. Works with MikroTik RouterOS 7.x. Kinshasa, Goma, Lubumbashi, Bukavu and across Africa.